

Outlook: Use the Dictation Feature – Here's How
Using the dictation feature in Outlook can save you a lot of typing. Even if you only speak a language orally, the dictation feature in Outlook can be helpful. In this blog post, you’ll learn how to easily dictate your emails via your microphone in Outlook. Currently, the dictation feature is available without a plugin only for Outlook for Office 365. Therefore, the following instructions apply to all Outlook versions used with Office 365.
How to Dictate Your Emails in Outlook
Step 1: Open Outlook.
Step 2: Open the email window.
Step 3: Click the three-dot menu in the top right corner.
Step 4: On the Language tab, click Dictate.
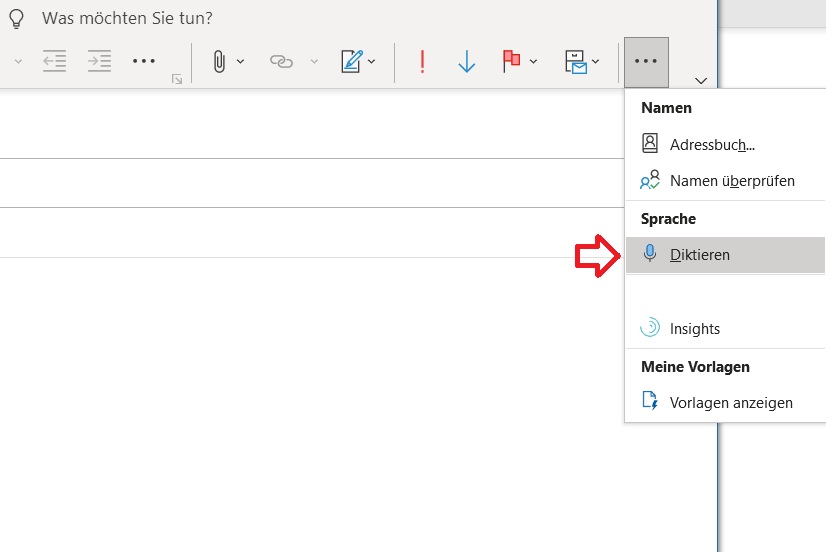
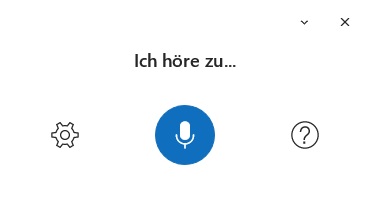
Step 5: Click the microphone icon to dictate your desired email in Outlook. Your words will then be automatically transcribed as text.
How to Dictate Your Emails in Outlook in a Different Language
Step 1: Open Outlook.
Step 2: Open the email window.
Step 3: Click the three-dot menu in the top right corner.
Step 4: On the Language tab, click Dictate.
Step 5: In the new window, click the gear icon and then Spoken Language. You can now select your desired language.
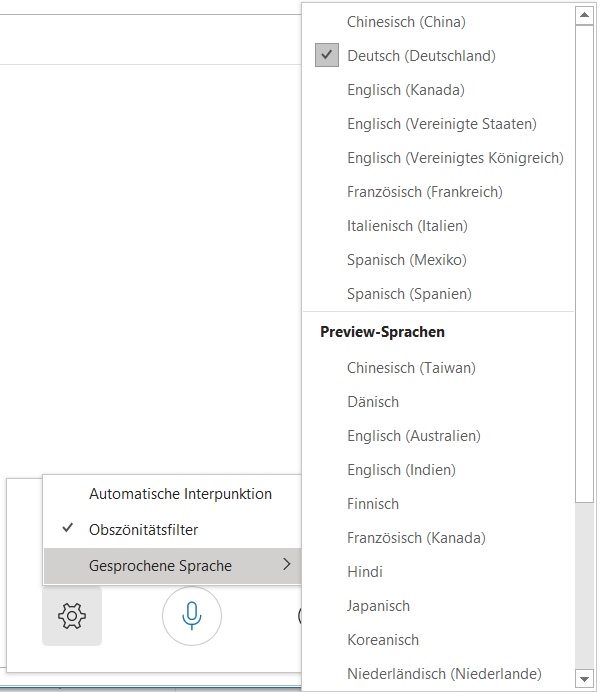
Step 6: As a final step, click the microphone icon to dictate your desired email in Outlook. Your words will then be automatically transcribed as text.
I hope this helped you dictate your emails in Outlook. Have you used the dictation feature yet?
See you soon!


Comments