Organize Outlook with Categories
Step 1: Start Outlook.
Step 2: Go to the inbox. Hold down the CTRL key and select the emails you want to organize using categories.
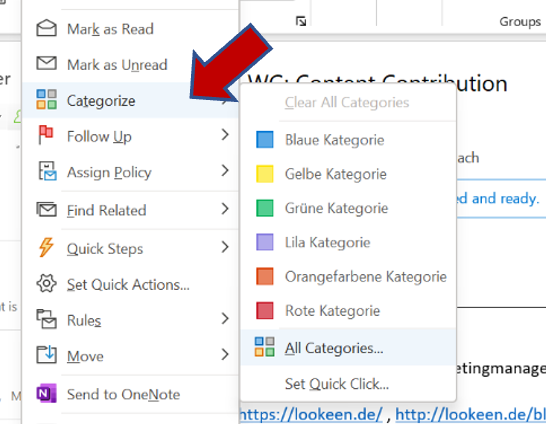
Step 3: Perform a right click. You can now specify a desired category for the emails.

How to Rename an Existing Outlook Category
If you categorized your emails but now want to rename the category you just created, just follow these easy steps:
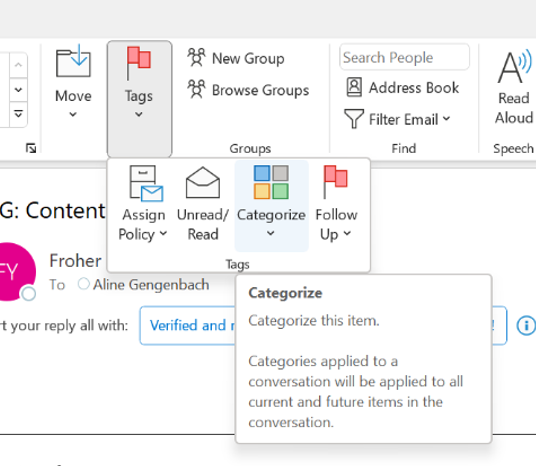
Step 1: Select the “Home” tab, and then select “Categorize” in the “Tags” section.

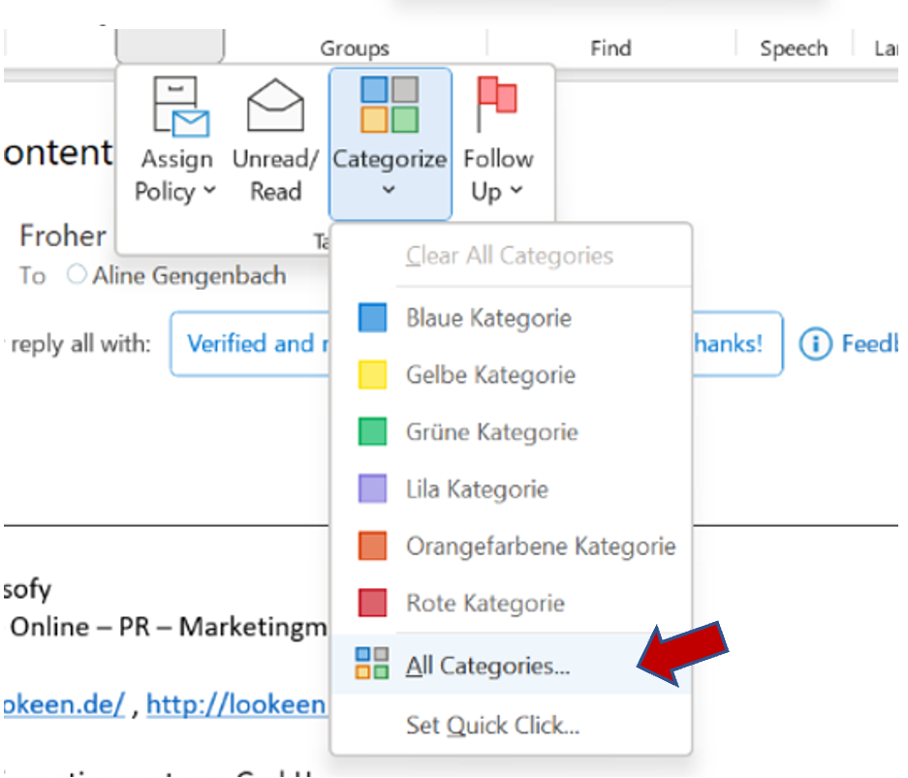
Step 2: Select “All Categories” in the appearing pop-up window.

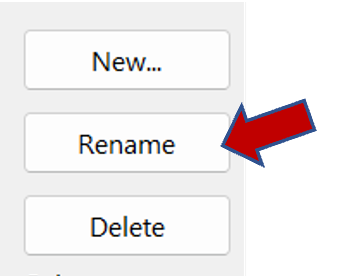
Step 3: Then, select your desired Category in the Color Categories box and click on “Rename”.

Step 4: Type the new name you want to give the category and press OK.
Categories make it easier to organize emails in Outlook. Another method to keep your inbox tidy and organized is the use of the inbox zero strategy. Have you already heard of it? Click here for the relevant blog article.
A good structure in the mailbox can also be achieved by organizing emails into folders. Click here for the appropriate guide.
I hope I was able to help you categorize and organize your emails in Outlook. I’ll be happy to answer any other questions or comments you may have in the comments!
See you soon!
Aline & the Lookeen team


Leave a Reply