

How to Enable Search on Windows Servers
The Windows Server is a series of server operating systems developed by Microsoft. In principle, the Windows Server is a more powerful version and counterpart to the desktop operating system. It was designed to handle corporate networks, Internet/Intranet hosting, databases, and other similar functions more efficiently. If you do not work with servers and network infrastructures or do not plan to, it is not necessarily necessary to worry about the Windows Server. The reason companies use Windows Server is that customizations can be made to suit the needs of the business. Most individual users actually do not need such powerful capabilities. At this point, I will explain how you can enable search and the indexing service on the Windows Server.
Microsoft Search Server Express vs. Windows Search Service
Are you looking for a better, more efficient search solution for your server? Click here.
The Windows Search protocol allows communication with a server that has a Windows Search service. The Windows Search service can issue a data query and allows an administrator to manage an index server. The indexing process runs under the system’s local account and continuously for all users. This enables Windows Search to:
- an index that can be shared by all users.
- maintaining security restrictions and access to content.
- processing requests from computers located on the same network
However, do not confuse the Windows Search services with Microsoft Search Server Express. Microsoft Search Server Express is a free enterprise search server that allows high-performance searching of corporate data across multiple systems. Microsoft Search Server Express has a similar appearance to a Windows SharePoint Services page. The main difference between Windows Search and Search Server Express lies in the ability of the Windows Search feature to search both desktops and servers. Search Server Express, on the other hand, can only search on the server.
Windows Search Service on Windows Server 2008
If you are working on a computer based on Windows Server and currently using Windows Server 2008, you should know that the Windows Search service is not necessarily installed automatically. However, you can manually install and configure the Windows Search service, but this requires some time, patience, and knowledge. Here are the individual steps:
- Click on Start > All Programs > Administrative Tools and then on Server Manager.
- In Server Manager, right-click on Roles and then select Add Roles.
- The Add Roles Wizard opens. Click on Next.
- Add the Windows Search Service
- Now you must select the scope of shared folders to be indexed.
- Then you can close the wizard.
Search should now be possible on the Windows Server.
Enabling the Windows Search Service on Windows Server 2012
While the individual steps to activate the Windows Search service are similar on earlier server versions, there are some differences with Windows Server 2012, which are described below.
Open Server Manager, click on Manage.
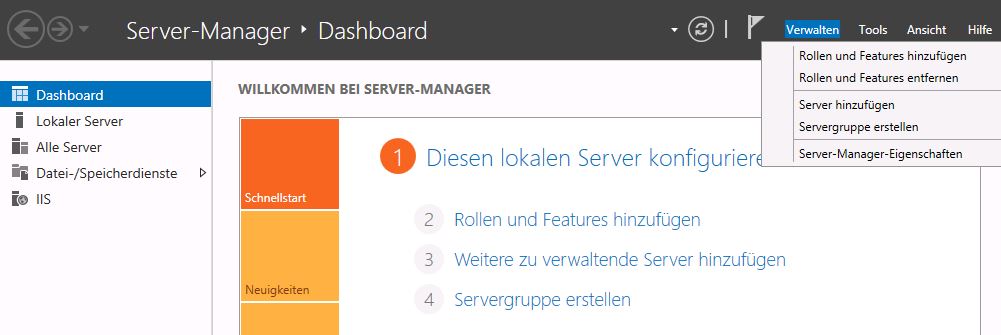
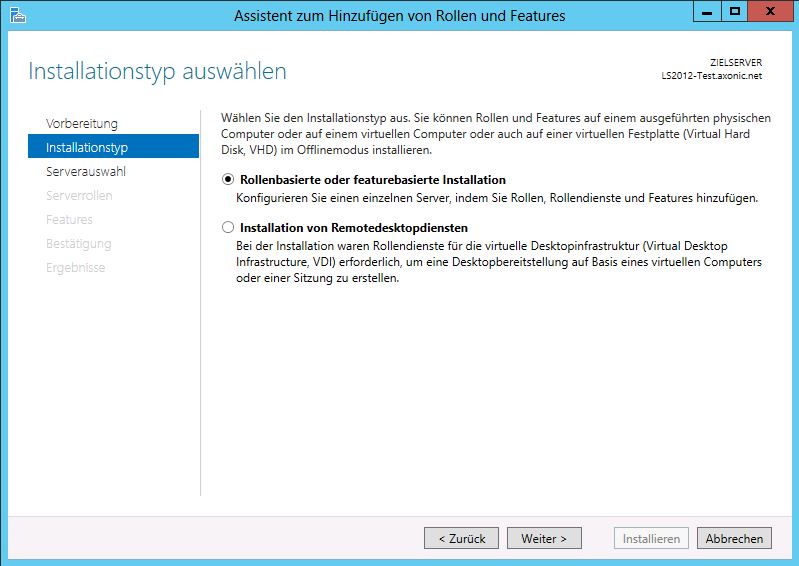
Go to Add Roles and Features to open the wizard. Click on Next to open the wizard for the Installation Type. Select Role-based or feature-based installation and click on Next.
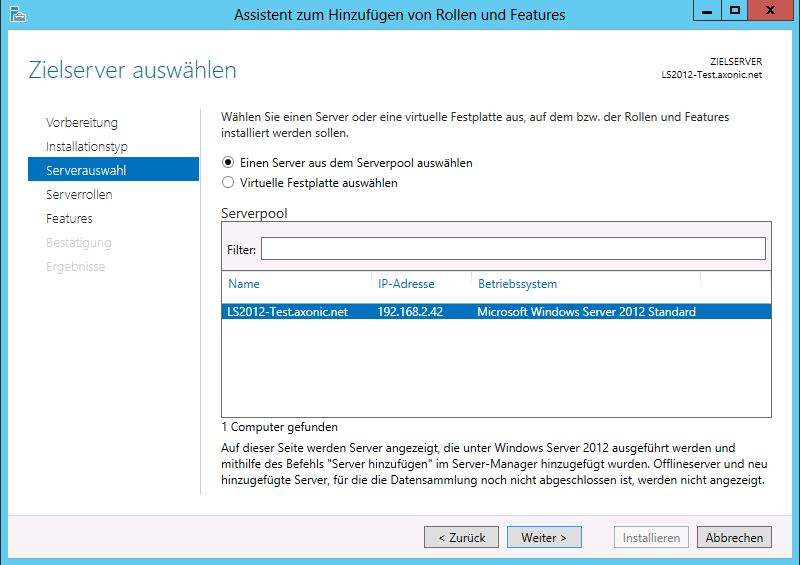
Now you are on the Select Target Server page and can choose the server. If you only have one server, it will be selected automatically. Then click on Next.
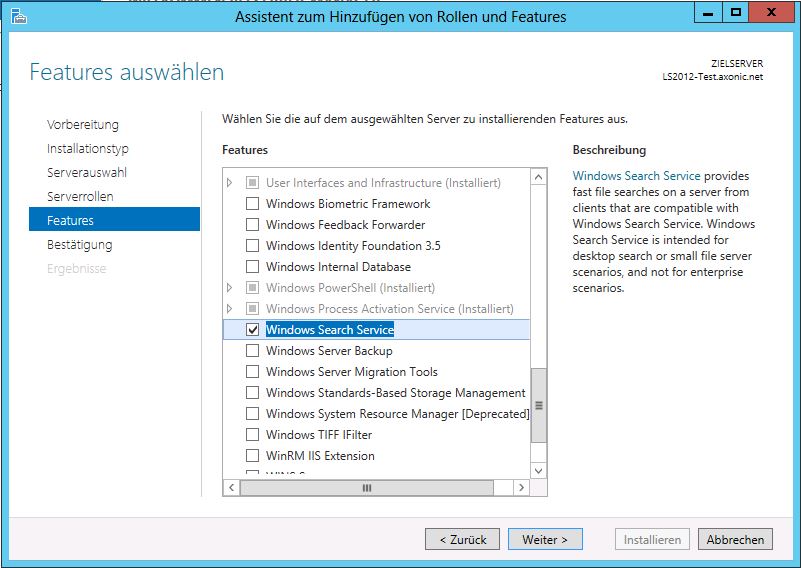
Next, you will arrive at the Select Server Roles page; click on Next here as well, since you are installing a feature, not a role. This opens the Select Features page, where you can select the Windows Search Service (make sure the checkbox is checked) and click Next.
You are now on the confirmation page. To confirm your selection, simply click on Install. Please note that it will take some time to install the Windows Search service.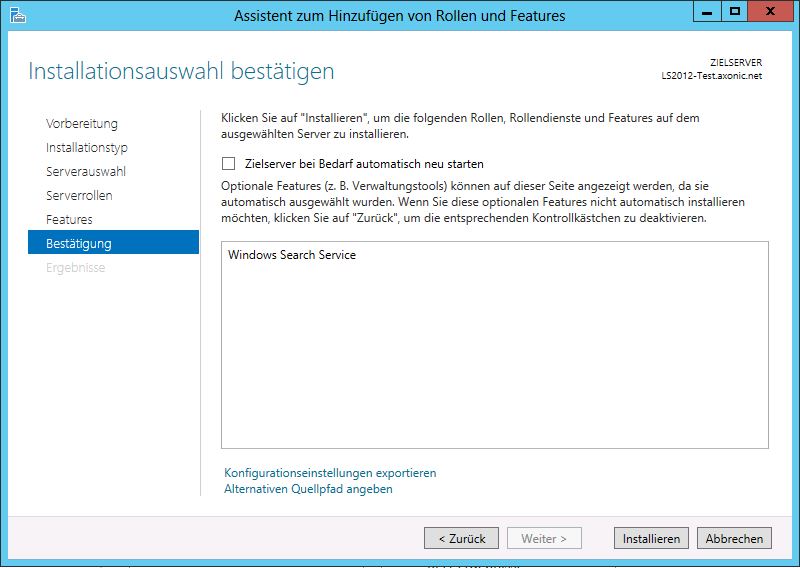
Add a New Location to the Index
A common issue users encounter when trying to add a network drive to a library is the following error message: “The network address cannot be included because it is not indexed.” However, there is no need to worry; this problem can be resolved quite easily. The following steps require Windows Server 2008 or higher and work with Windows 7, 8, and 10 libraries.
Once Windows Search is enabled, the server automatically creates an index stored on a network share. Clients that have access to the network can use this search index to find the files they need.
The first step is to create a shared folder. To do this, go to Server Manager > File and Storage Services > Shares.
Next, you must enable the Windows Search service from your server. These are the steps you need to take for Windows Server 2008 and 2012:
First, you need to add the shared folder to the index. To do this, open Control Panel > Indexing Options > Modify on the server and add a folder or even an entire drive to the index.
You are now able to add the network share to the index without encountering an error message.



Comments