
On previous versions it was called Windows Explorer, but File Explorer is basically the same desktop search tool with a couple of differences. The basic layout of the desktop search in Windows 10 will look familiar if you have used a version of Windows from XP or beyond. Here’s what is happening with the new File Explorer.
Windows 10 Desktop Search
Just like any desktop search, FE has a search bar. When using the desktop search function in File Explorer your search will only work within the folder you have selected. This can be great if you have hundreds of files within a folder. Also clicking the search bar will automatically open the search tools section of the Ribbon Interface. This desktop search tool will be able to search for files and folders which have been modified on a specific date, it can search by file size or type, and even save searches that you can access later.
Quick Access
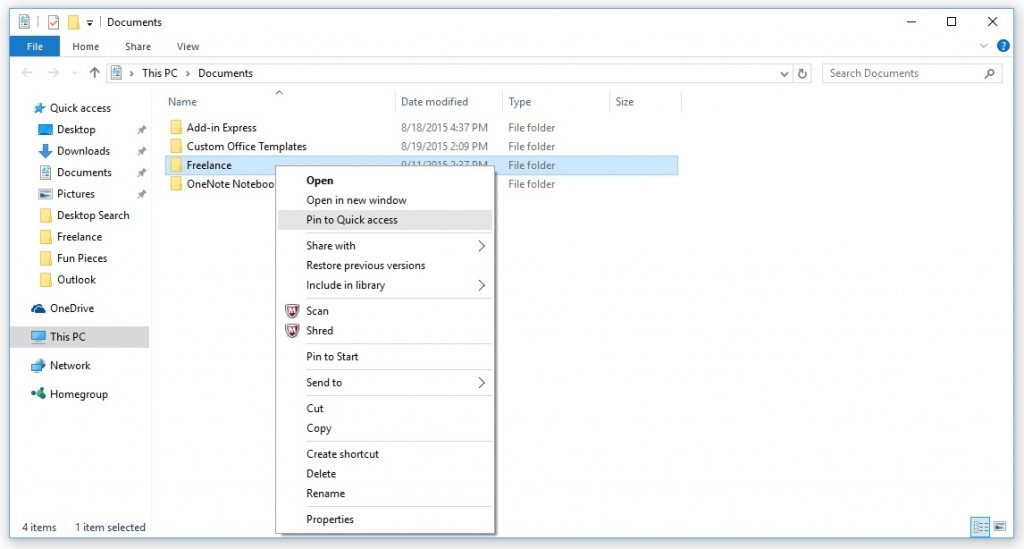
When you open File Explorer, you will find the Quick Access area in the first part of the left hand side of the window. It kind of works as a favorites or a “bookmarks” bar for your desktop search. It will mostly show you recently accessed folders, and also any folders you have pinned to Quick Access. To do this, you simply right click on the folder of your choice and select “Pin to Quick Access.”
Ribbon Interface
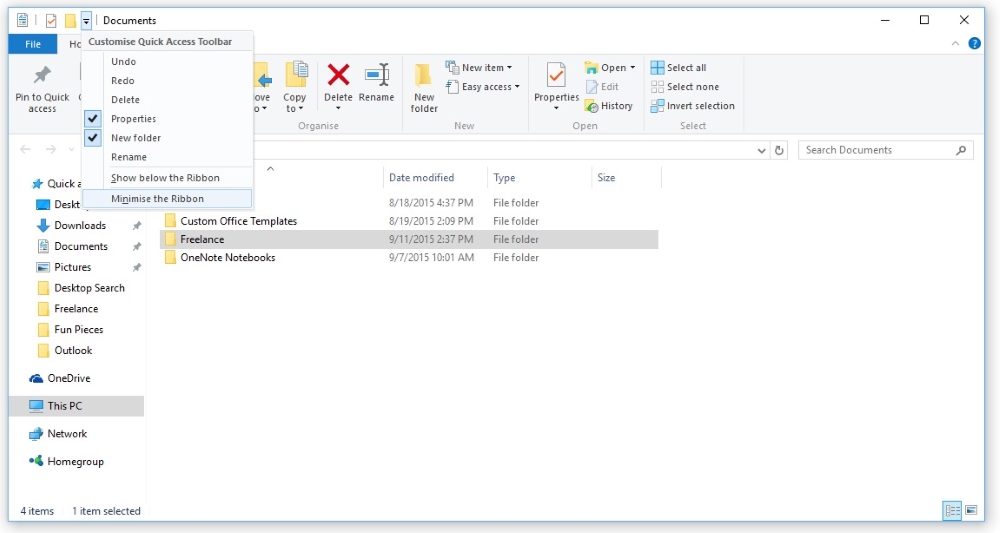
File Explorer has the main functionality and layout focused on the left side of the window pane. You can access your files and folders from here, but there are some advanced functions made available by the ribbon interface. This function or interface was actually introduced in Windows 8. You can open this by clicking, HOME, SHARE, or VIEW, but if you would like to make it visible at all times, you can click “down” found next to the folder name in the header, then unselect “Minimize the Ribbon.” Now you can explore some of the options in the file explorer ribbon.
The new Windows 10 desktop search may require some getting used to, but with some organization on your part, file explorer should find what you are looking for.
Windows 10 Search Tips
An interesting trick in Windows 10 search can show you more results if the item you need doesn’t pop up in the original results. Here’s what you need to do:
- Click on the Search Box and then type in what you are looking for.
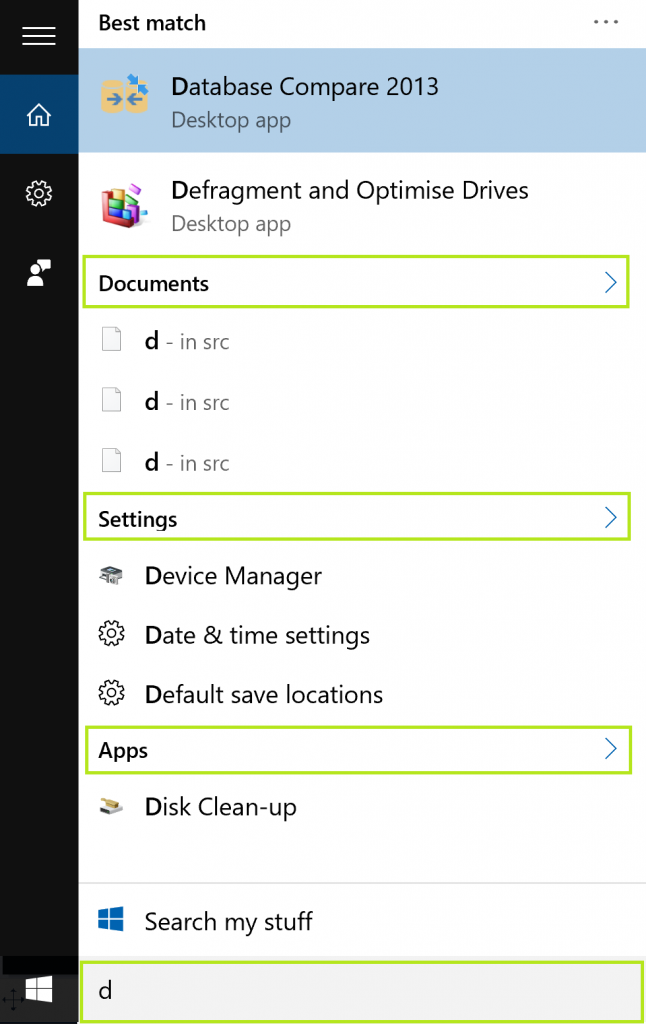
- The results will show up divided by categories; Apps, Settings, Documents, Store, or Web.
- If you don’t see the correct results in Windows 10 Search, then click on the category heading. This will open a different dialog box that will show you everything in that category.
Within the categories you will most likely find what you are looking for.
In future searches, if you know that you’re searching for a document you can type ‘document: {search term}’. For an app you would type ‘app: {search term}’:

Disable Web Results in Windows 10 Search
If you are not a fan of the web results that appear in Windows 10 Search then you can disable the web results. Note: In order for the web results to be disabled then Cortana will have to be disabled, so if you are a fan of Cortana, then the web results will have to stay in Windows 10 Search. Here’s what you need to do to disable the web results.
- Select the search box in the taskbar. The Cortana news feed will appear.
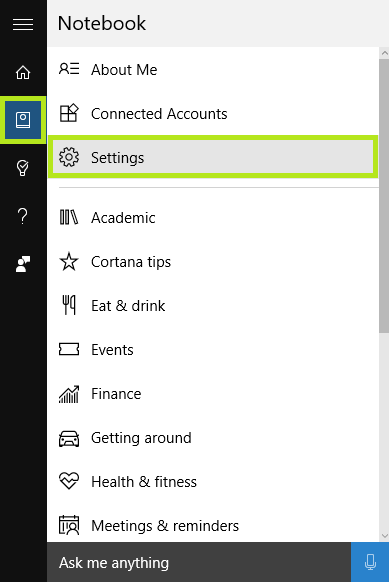
- Click the icon that looks like a notebook the left hand side. It is underneath the Home icon.
- Now click on Settings. This opens the Cortana Options.
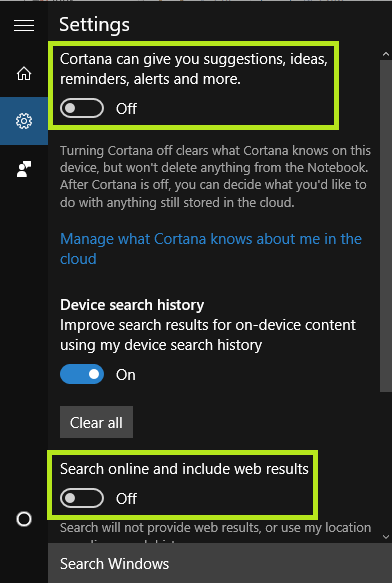
- Move the switch under “Cortana can give you suggestions, ideas, reminders, alerts, and more.” To off.
- Do the same to the switch under where it says, “Search online and include web results”
Now Windows 10 Search will say “Search Windows” and not “Ask me anything”, and the results will be from your hard drive or the local network.


Leave a Reply