Turn on Read Receipts for All Messages in Outlook
Step 1: Open Outlook, click File, and then Options at the bottom left.
Step 2: In the pop-up window, click Mail.
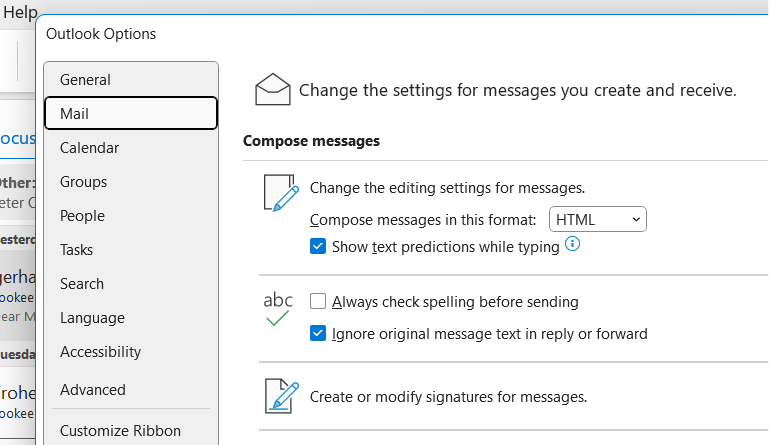
Step 3: Scroll down to the Tracking area. There, you’ll find the For all messages sent, request section. Click the Read receipt confirming the recipient viewed the message box.

Step 4: Finally, click OK.
Turn on Read Receipts for Individual Messages in Outlook
You might want to turn on the read receipts for important, time-sensitive messages only. Thus, you have to request the read receipts for such messages individually.
Step 1: Open Outlook and compose the email you’d like to request the read receipt for.
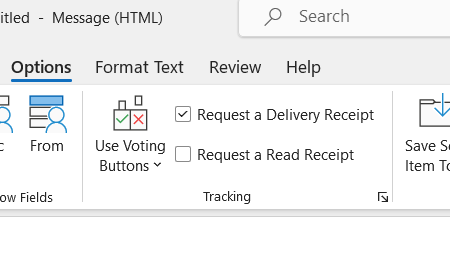
Step 2: Go to the Options menu.
Step 3: In the ribbon at the top, you’ll find the tracking area. Check the box Request a read receipt.
Step 4: Click send once you finished composing your message. The receiver will be requested to confirm the read receipt for the email.
Create a rule that turns on read receipts depending on certain conditions
In case you want read receipts only to be requested automatically if certain conditions are met or with specific contacts only, you have the option to create a rule; this way, you avoid having to turn it on individually for each email. Learn how to set a rule according to your needs.
FInd every message, file, document, or meeting with search solution Lookeen in seconds!Step 1: Open Outlook, go to the Home tab, and select Move Group.
Step 2: Press Rules, then select the Manage Rules & Alerts option from the Rules drop-down.

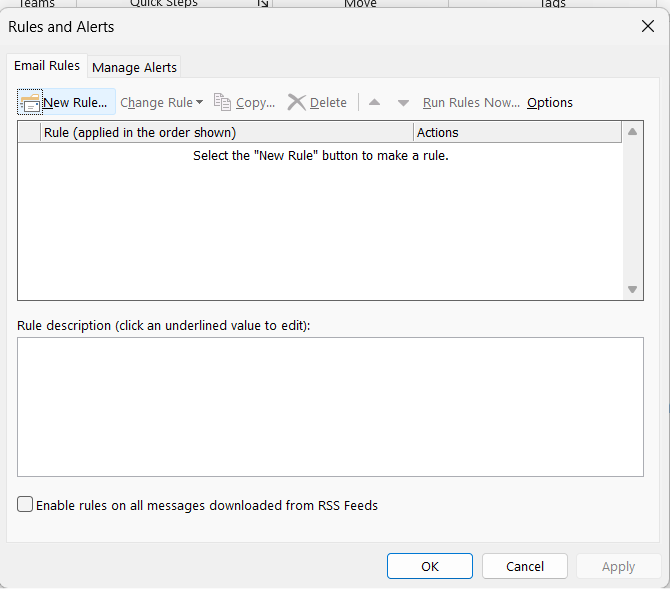
Step 3: Select the Email Rules tab in the pop-up windows and click New Rule.
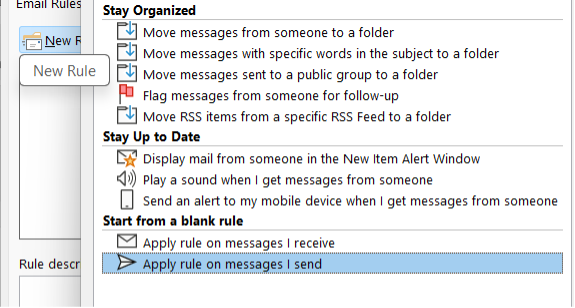
Step 4: Choose Apply rules on messages I receive or Apply rules on messages I send, then Start from a blank rule section, and finally click Next.
Step 5: Now, you can choose conditions according to your needs from the suggested list. For example, you can choose that only emails marked as important will request a read receipt.
Step 6: Click on the link (the underlined value) below the list of conditions and click Next.
Step 7: Now that the list of actions appears, tick the box notify me when it is read.
Step 8: Click Next, and in case it is necessary, you can add any exceptions for the rule. You can also specify a name for the rule.
Step 9: Finally, click Finish and Apply in the Rules and Alerts window to set up the rule!
What is your opinion on read receipts? Let’s discuss this in the comment section!
See you soon,
Aline & the Lookeen team


Leave a Reply