

How to Create a Bootable USB Stick for Windows
Increasingly larger storage capacities due to ever smaller devices have made optical drives nearly obsolete in recent years. It is therefore no surprise that Windows 10 can be purchased not only traditionally on DVD but also directly on a USB drive. Creating your own bootable USB drive is no problem at all. This step is particularly useful if you wish to use the free upgrade to Windows 10. You can create the bootable USB drive even during the upgrade process, allowing you to perform a clean install.
Article title: How to Create a Bootable USB Stick for Windows Excerpt 1 of 1: To do this, you must back up all of your data. The prerequisite is that the USB stick has at least 3 GB of storage capacity. However, since your USB stick likely has more storage capacity, you can also save your backup to it. To do so, be sure to create a new folder in the root directory of your USB stick. Please note that all data currently on the stick will be deleted when creating the bootable USB stick.
If you have already upgraded to Windows 10 without performing a clean installation, driver issues may occur or errors from your previous operating system may have been carried over. In that case as well, a fresh installation using a bootable USB stick is worthwhile.
Want to search quickly and efficiently in Windows 10? Try Lookeen free for 14 days!
Create a Bootable USB Stick Using the Media Creation Tool
You can download the Media Creation Tool from the Microsoft homepage. The program allows you to create a USB flash drive or an installation DVD via the ISO file for Windows 7, Windows 8.1, and Windows 10. Before creating the bootable USB stick, you should know whether your PC has a 64-bit or 32-bit processor (CPU). You can find this information under Control Panel – System and the sub-item System type. There, you can also view which Windows version you are using under Windows edition. Launch the Media Creation Tool as soon as the download is complete. Proceed as follows:
-
Read through the license terms and confirm them by clicking Accept.
-
Click on Create installation media for another PC
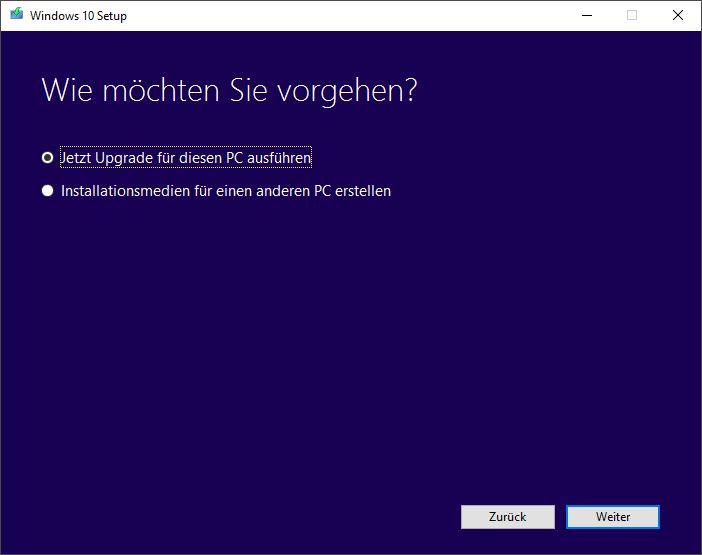
-
Data such as language, edition, and architecture should already be selected automatically. However, if you wish to create a bootable USB stick for a different version, uncheck Use the recommended options for this PC.
-
In the next window, you must select the USB flash drive option and click Next (make sure your USB stick is connected).
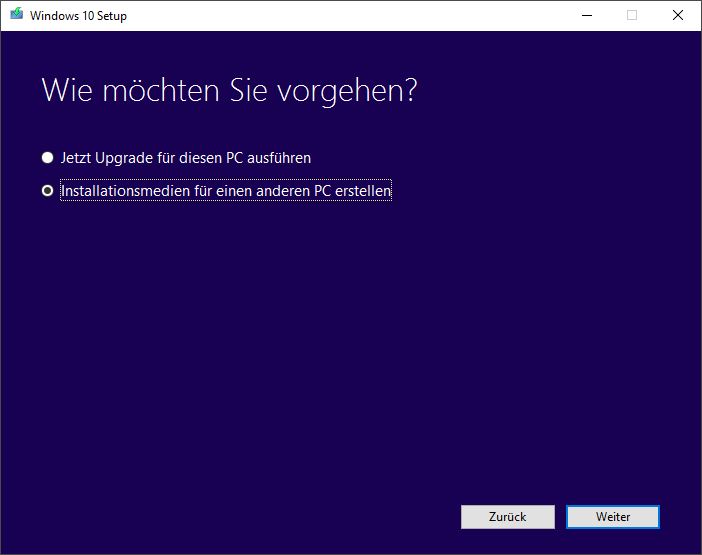
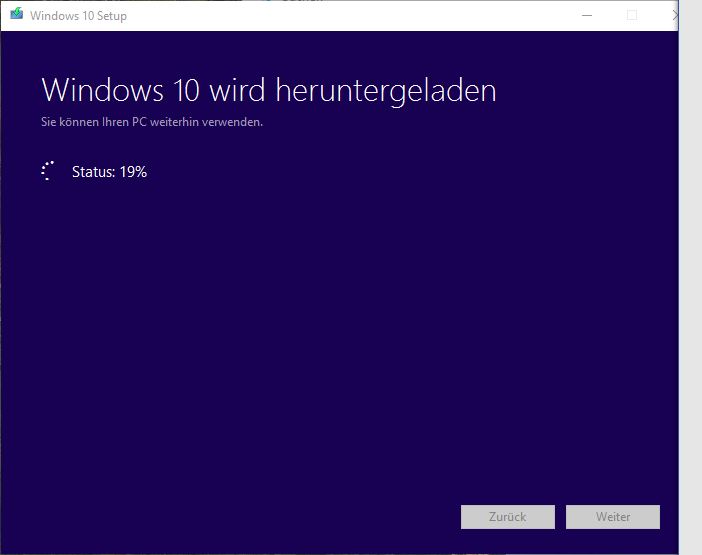
- You now need to navigate to the file path of your USB stick. Once confirmed, the Media Creation Tool will begin downloading Windows and creating the media. Depending on your bandwidth, this may take some time.
Enable “Boot from USB”
Once the process is complete, you can begin the installation by restarting Windows. Make sure the USB stick is connected. If the installation does not start as expected, you may need to enable the Boot from USB option in your BIOS or UEFI menu. To access the menu, simply press the Del or F2 key when starting your computer. After the next restart, the installation via bootable USB stick should begin automatically.

Comments