How to Upgrade from Windows 8 to Windows 10
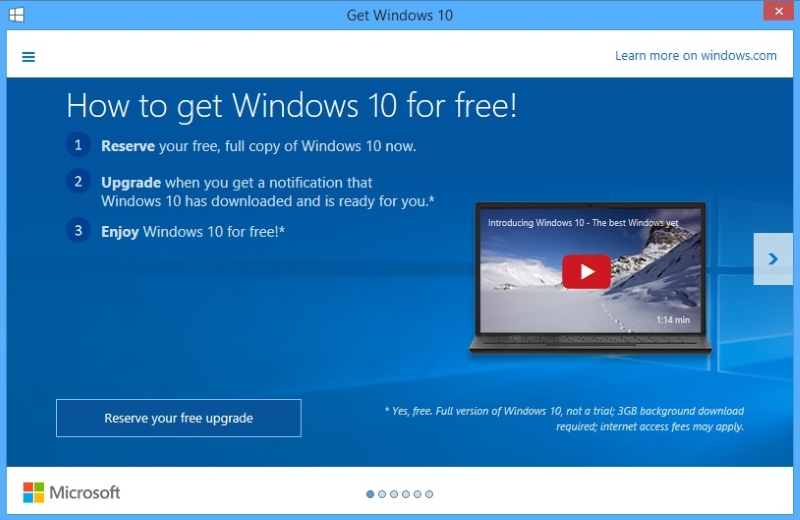
The easiest way to get the free upgrade is to reserve the upgrade. A Windows 10 icon should appear on the lower right side of the system tray. Once you have the Windows 10 app, select Reserve Your Free Upgrade.

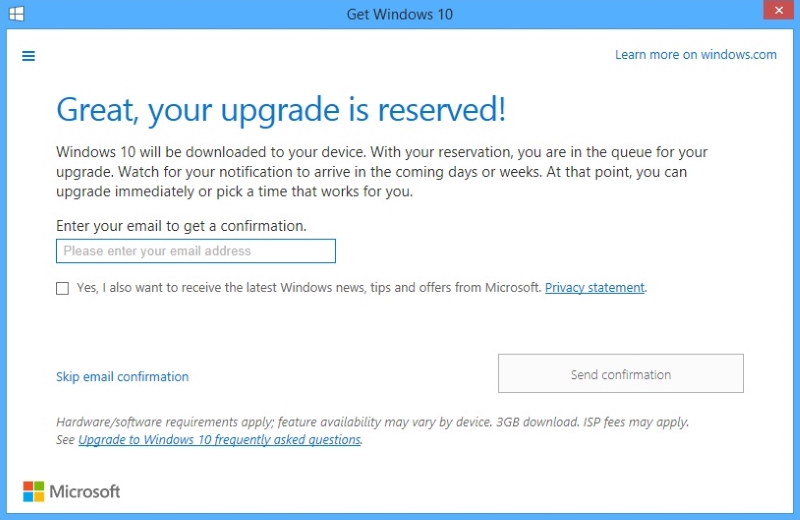
After you have reserved the free upgrade, watch the notifications from the Get Windows 10 app. It could be a few days or weeks. Once it notifies you, you can get the upgrade immediately or just pick a time that better suits your schedule.

If you don’t see the Windows 10 icon, try running Windows Update and install any required and recommended updates. If you still don’t see the icon, you can use the Media Creation Tool to upgrade. This is a little bit more complex but you can find the tool here. Follow the instructions but read below for what you need to check for first.

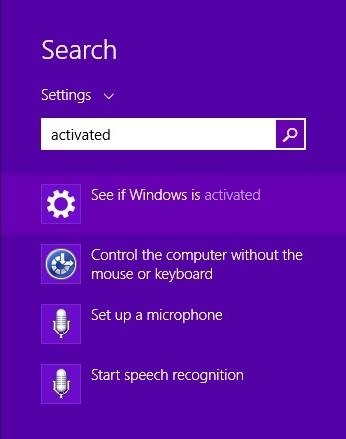
The main thing that you need to check before attempting to upgrade Windows using the Media Creation Tool is to make sure that your version of Windows 8 is properly activated. To check this, press the Windows key + W and this will pull up the settings search. Type in “Activated” click on “see if Windows is activated”.
Now run the installer tool called Media Creation Tool. Select Upgrade this PC now, and click Next to start the download process. When it is done downloading and unpacking the installation media, you will be asked to accept the terms of the license agreement. Once you click Accept, there will be an update check before the final confirmation page shows.
Now the installer will ask you what to keep. Your options are “Keep personal files and apps”, “Keep personal files only”, or “Nothing”. There are small summaries underneath each option, but to better understand the options, here is what each option actually entails:
- Personal Files: This keeps all of your files that are currently in the User folder, which includes Documents and Desktop Folders.
- Apps: This keeps apps that work after your upgrade.
- Windows Settings: this keeps your desktop background, Internet favorites, history, and ease of access.
- Nothing: this is self-explanatory. This option will delete everything.
Make your choice, and then click Next. On the Ready to install screen just double check your selections, and click Install. The PC will reboot itself a few times, and when it is done, it will return to the Windows login screen.
Configuring Windows
Once the login screen appears you are able to configure and make some tweaks before booting Windows 10 for the very first time. You can choose Express Settings or Customize Settings where you can see which settings Microsoft has chosen, and choose to change some settings or keep them all the same for Windows 10.
Once it is all done, check if all of your apps made it through the upgrade. Update any drivers that may need to be updated. You are now free to enjoy Windows 10.


Leave a Reply