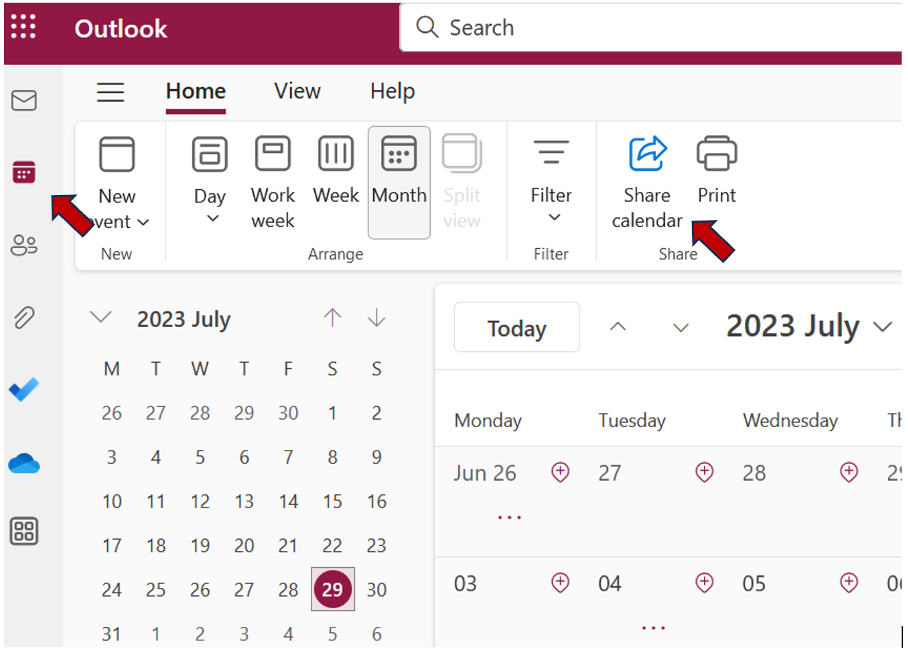
Step 1: Launch Outlook on the web. Click on the calendar icon on the left of the navigation.
Step 2: On the top right part of your screen, you’ll find the “Share” button. Select it to open a window titled “Sharing and Permissions”.
Note: If you have several calendars and you’d like to share a specific one, you can simply hover with your mouse over the according one in the “My calendar” section on the left interface. Then right-click or select the appearing three-button icon to open the “Share and Permissions”.
Step 3: Now search the email addresses of contacts you’d like to share your calendar with and select them.
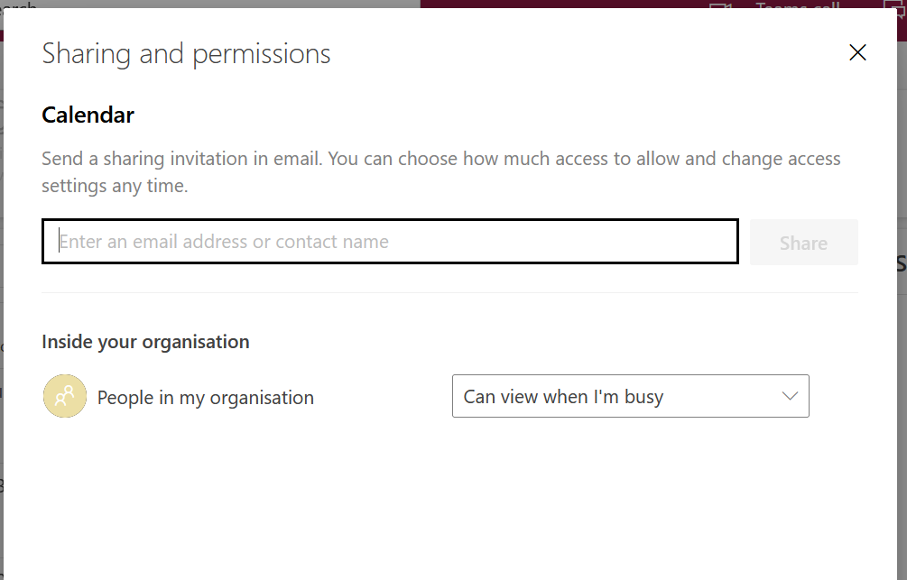
Step 4: When selecting a user, Outlook will ask you for the type of permissions you’d like to give. To grant access, simply click the drop-down menu beside the user. You can choose between different settings, depending on whether you’ll share your calendar with someone within your organization or with someone external.
Permission settings for people within your organization:
- Can view when I’m busy: Only shows when you are not available and no other details.
- Can view titles and locations: Shows locations, titles, and subject of events.
- Can view all details: Shows your calendar items complete with all details.
- Can edit: Enables making changes to your calendar.
- Delegate: editing, sharing, responding to meeting requests is all allowed on your behalf.
Permission settings for external users:
- Can view all details: All information about events and appointments is displayed.
- Can edit: Editing of your calendar is allowed.
Note: Unlike in the desktop app you have to assign your permissions right away after selecting an user, before you can search for another one. Clicking the share button will immediately send an invite.
Step 5: Repeat the process for all users you’d like to share your calendar with.
Loosing time with the search for documents for upcoming meetings? Lookeen searches your Outlook and desktop in seconds!Step 6: Invites will be sent to users immediately, which they can then accept or reject.
Note: You can change permissions any time or stop sharing your calendar completely by opening the “Sharing and Permission” window again, selecting the specific user and do the changes as wanted.
What is your experience with sharing Outlook calendars, and do you have any questions? Feel free to share in the comment section!
See you soon!
Aline & the Lookeen team


Leave a Reply