Conditional formatting is the feature that enables you to color code your emails. It will let you distinguish messages from one another by displaying emails in various forms based on their properties.
Reasons to color code emails:
- Highlight messages that require your immediate attention
- Categorize emails received from senders based on which department or company they work in
- Group emails together that are relevant to a specific project
On top of font color, conditional formatting allows you to differentiate emails using font type, styles, and size.
Setting up Conditional Formatting
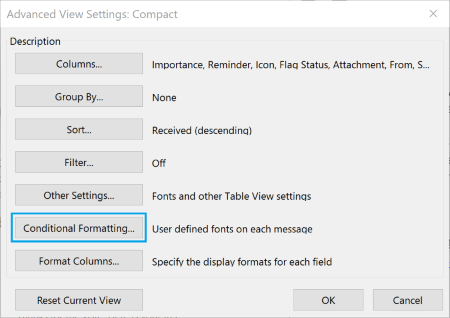
- Go to the View Tab, then within the Current View group, click on View Settings.
- In the Advanced View Settings dialogue box, you will find Conditional Formatting, click on it.
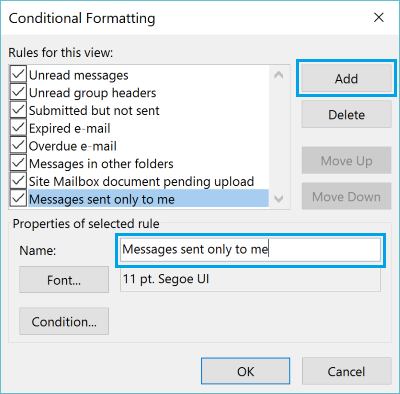
- To create a new rule for Conditional Formatting, hit Add.
When creating a condition, make sure you give it a name that is relevant to to the set-up you are creating. This will make it simpler to manage and locate in the future. The more specific the name, the better.
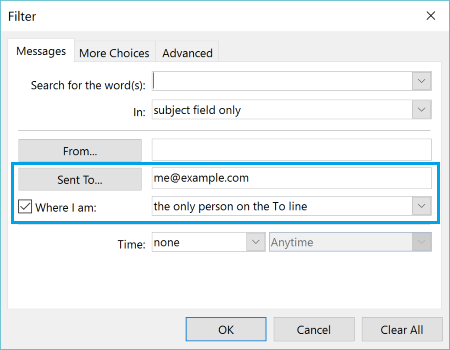
Once you’ve named it, it’s time to actually add the condition. This is where you specify what you want the rule to be for that format. For example, let’s say you want a particular condition to be the messages must only have your name in the ‘To:’ line. Then you’d choose from the drop down menu the option that says “the only person on the To line.”
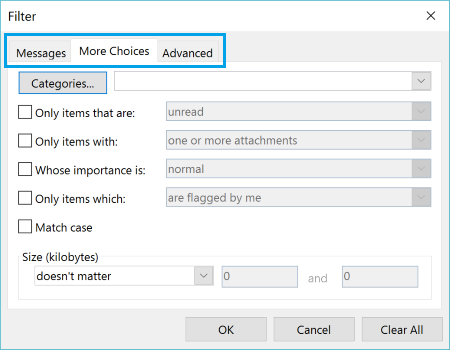
You’ll find extra conditions under the More Choices and Advanced tabs in the Filter dialogue box. This will allow you to further customize at various skill levels. The number of conditions and rules you can have is up to you.
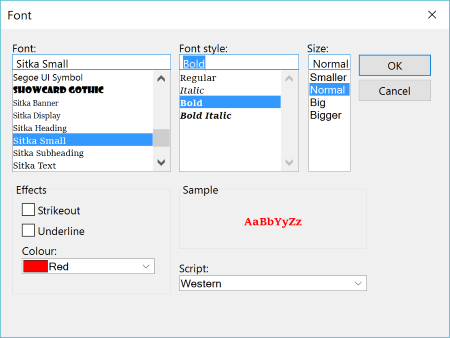
Next up is a vital part of the process. This is where you customize the color, font, and/or style to go with the condition. To do this, once you click OK, you’ll see the Font button, click on that.
You’ll then be greeted with the box below. Here is where you get to choose the color, font type, style, and size that you want.
Emails from sales campaigns and spammers flood our inboxes on a daily basis. Assigning custom colors to certain messages or senders will enable you to identify the emails that truly require your attention.


Leave a Reply